
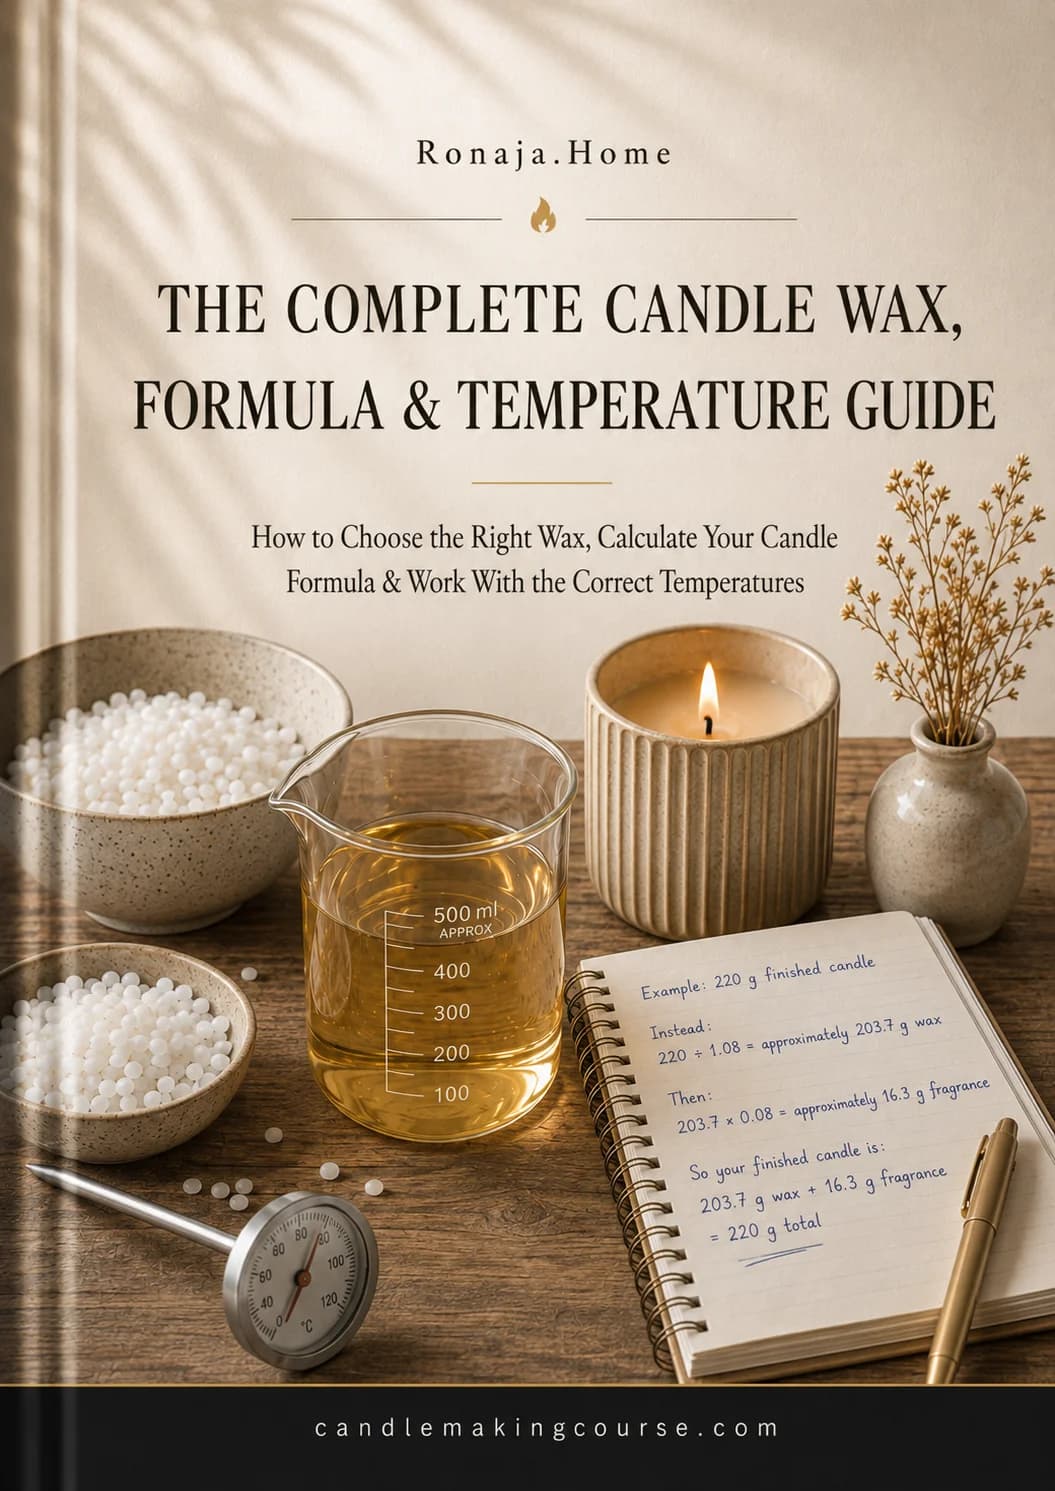
Stop guessing which wax, which formula and which temperature
The exact waxes, calculations and working temperatures I use for every candle I make and sell.
Why candles fail before the wax even melts
Two waxes can both be called soy wax and behave completely differently, because they were formulated for different purposes. One is made to sit in a jar, the other to hold its own shape. Pour the wrong one into a mold and the candle sticks, deforms and loses every detail.
Then come the numbers. How much fragrance for 500 g of wax? How much wax actually fits in your container? What do you do when the finished weight has to be exactly 220 g? Most beginners calculate the fragrance on the wrong number and wonder why the candle sweats or burns badly.
And temperature advice online contradicts itself constantly, because everyone is talking about a different wax without saying so.
Inside, you will find out
- How to tell container wax and pillar wax apart, and why using the wrong one ruins molded candles
- How soy, beeswax, palm wax, gel wax and blends actually behave in practice
- The two waxes I use again and again after four years of testing
- The fragrance load formula, and why the highest percentage your wax can hold is rarely the right one
- The difference between wax weight and finished candle weight, the mistake that quietly breaks most formulas
- How to find the true fill weight of any container instead of trusting the millilitres printed on it
- How to scale one tested candle into a full production batch
- My working temperatures for heating, adding dye, adding fragrance and pouring
- Why beeswax and gel wax need a completely different temperature process
- How to read the wax itself instead of only watching the thermometer
Inside the guide
Part 1 · Wax types
Container versus pillar wax, how the main wax families behave, and the rule to apply before you buy any wax.
Part 2 · Formula calculations
Fragrance load, wax weight versus finished weight, real container fill weight and full batch scaling, with worked examples.
Part 3 · Temperatures
My soy wax process from heating to pouring, plus the separate approach beeswax and gel wax require.
This is for you if
- You have made candles but the results are not consistent
- You want to understand why a formula works instead of copying numbers
- You are moving from containers into molds, or the other way around
- You are preparing to sell and need repeatable, reliable batches
Written by Zoriana, founder of Ronaja.Home
I have been making candles for several years, creating and selling my own designs and teaching thousands of students how to improve their candle making. Everything in this guide comes from my own testing and my own workspace, not from theory.
Questions
Yes. The guide teaches the categories and the calculations, so you can apply them to any wax. I also share the exact waxes and temperatures I use, and remind you to check the technical sheet for your specific wax, because manufacturers differ.
No. Every formula is one simple multiplication or division, and each one is shown with a full worked example you can copy.
No. This is a standalone reference you can keep next to your workspace. The course walks you through making candles on video, the guide is the numbers and the reasoning in writing.
Straight after checkout you can download the PDF from your account, and it stays there for whenever you need it.
Get The Complete Candle Wax, Formula & Temperature Guide
Everything I learned about wax, formulas and temperatures over four years of testing, in one reference you can use on your next pour.
One-time payment · Lifetime access
Want all four guides? See the bundle